How to Reduce Image File Size Without Losing Quality
Five practical ways to make photos and graphics smaller without visible damage, plus a simple workflow for choosing JPG, PNG, WebP or AVIF.
A smaller image does not have to look worse. The trick is to remove information that the viewer does not need: oversized dimensions, camera metadata, inefficient encoding and detail the eye is unlikely to notice.
There is one important distinction. Lossless compression preserves every pixel exactly. Visually lossless compression changes some image data, but aims to make the change invisible at normal viewing size. Most web photos use the second approach because it saves much more space.
Here are five practical ways to reduce image file size while protecting the part that matters: how the image looks.
1. Use the right format for the image
Choosing the wrong format can add more weight than any quality setting can remove.
| Image type | Usually the best choice | Why |
|---|---|---|
| Camera photo | JPG, WebP or AVIF | Efficient for gradients and natural detail |
| Screenshot with text | PNG or lossless WebP | Keeps edges and small text sharp |
| Logo or simple graphic | SVG when available; otherwise PNG | Preserves clean shapes and transparency |
| Website photo | WebP or AVIF, with JPG as a fallback if needed | Smaller than traditional JPG in many cases |
| iPhone HEIC photo for sharing | JPG for compatibility; WebP for the web | Opens on more devices and services |
Saving a photograph as PNG is a common mistake. PNG must preserve every pixel, so the result can be several times larger than a good JPG or WebP with no visible benefit. On the other hand, saving a text-heavy screenshot as a low-quality JPG can create fuzzy halos around every letter.
If you are unsure, compare several outputs instead of guessing. PixSip can produce JPG, PNG, WebP, AVIF and JPEG XL versions side by side so the file sizes are visible before you download.
2. Resize oversized dimensions before compressing
Image dimensions and file size are different, but they are closely related. A 4000 × 3000 photo contains 12 million pixels. If it will only appear 1200 pixels wide on a website, keeping all 12 million pixels wastes bandwidth and memory.
Export the image near the largest size at which people will actually view it. For responsive websites, keeping a larger source is sensible, but the file delivered to a phone should not automatically be the full camera original.
Do not repeatedly resize the same JPG. Keep the original file, then create each required size from that original. Repeated decoding and re-encoding gradually damages sharp edges and fine texture.
3. Compress once with an efficient encoder
Two JPG files at the same stated quality can have very different sizes. The encoder matters. Tools such as MozJPEG use progressive encoding, optimized Huffman tables and other techniques to reduce size without simply lowering the quality number.
PixSip uses MozJPEG for JPG, libwebp for WebP, OxiPNG for PNG, and dedicated AVIF and JPEG XL encoders. In our published 20-photo JPG benchmark, the batch went from 2,272 KB to 1,463 KB — a 35.6% reduction — while preserving the original dimensions.
The safest workflow is simple:
- Start from the highest-quality original you have.
- Resize only if the dimensions are larger than needed.
- Encode once into the final delivery format.
- Keep the original separately in case you need another size or format later.
4. Judge quality at the size people will see
Zooming to 800% will reveal differences between almost any two compressed images. That does not mean visitors can see those differences in a product card, blog post or social-media preview.
Check the result in two views:
- At 100%: inspect faces, hair, foliage, text and high-contrast edges.
- At the final display size: decide whether the image still looks natural in its real context.
Watch for blocky gradients, color banding, ringing around text and waxy skin texture. If those appear at normal size, the compression is too aggressive or the format is wrong for the image.
For important assets, compare the original and compressed version side by side rather than trusting the file-size percentage alone. A 70% saving is not a win if the product photo looks damaged; a 30% saving that nobody can see is.
5. Remove invisible weight — but know what it includes
Image files can contain EXIF metadata such as camera model, capture settings, editing software and sometimes location data. Re-encoding for the web often removes this metadata, saving a modest amount of space and reducing accidental information sharing.
Color profiles and transparency need more care. Removing an unnecessary profile may help, but removing the wrong one can shift colors. Converting a transparent image to JPG replaces transparency entirely. Always open the final file once before publishing it.
Metadata removal alone will not turn a 5 MB photo into a 500 KB photo. The biggest gains usually come from dimensions, format and encoding.
A quick workflow that works for most images
For photos and general web graphics:
- Keep an untouched original.
- Resize it to the largest dimensions you actually need.
- Choose JPG for universal compatibility, or WebP/AVIF for a smaller web asset.
- Compress the file once.
- Compare at 100% and at the final display size.
- Download the smaller file only if it still looks right.
With PixSip, you can drop up to 20 images into the browser, compare the original and compressed result, and download them individually or as a ZIP. Processing happens on your device, so the images are not uploaded to a compression server.
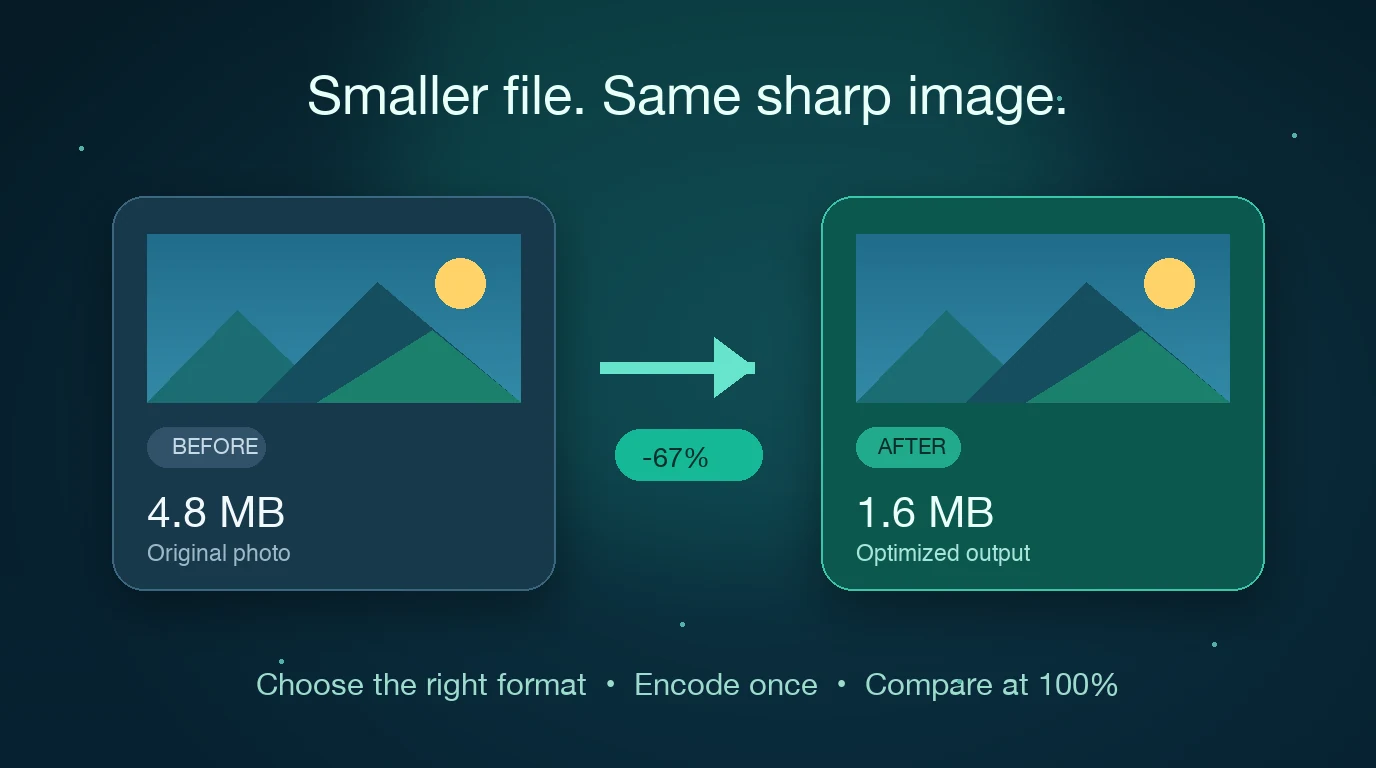
What “without losing quality” should mean
If you need a forensic archive, medical image or production master, use a lossless format and keep the original pixels. For a website, store listing, email or social post, the practical goal is different: make the file smaller without creating a difference people can see in normal use.
That is not a promise of mathematically identical data. It is a better target — preserve the experience, not unnecessary bytes.
Make your images smaller: compress JPG in your browser or compare WebP output. For a deeper decision guide, read JPG, PNG, WebP, AVIF or JPEG XL? and see the complete 20-photo compression benchmark.